 3936
3936
Create and insert a signature in Outlook Desktop App for Windows and Mac. And, Outlook Web App.
Click here to download ILAC Signature Sample.
Step 1: Click on New Email from your outlook.

Step 2: Click on the Signature drop-down and then Signatures.

Step 3: Click on New and type a name for your Signature.

Step 4: Customize your Signature under Edit Signature and then click OK. You can also copy & paste Signature from other templates.

Step 5: Start using your Signature in your email.

Step 1: On the Outlook menu, select Preferences.

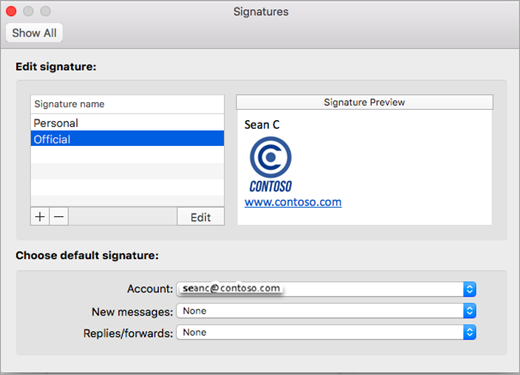
Step 2: Under Email, select Signatures.

Step 3: Double-click Untitled, and then type a name for the signature you created. Or select  to add a new signature.

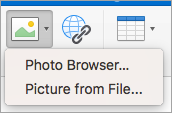
Step 4: In the Signature editor, type the text that you want to include in your signature. You can format your text, add photo, logo, picture or a hyperlink to your portfolio or company website. After you are done creating your signature, close the editor window.

Step 5: Add a signature automatically to all messages, go to the Outlook menu, select Preferences => Under E-mail, select Signatures and under Choose default signature, select the account for which you'll set a default signature. (If you have multiple accounts, you must set the default signature separately for each account)

Step 6: Set the default signature for all New messages and/or Replies and forwards.
Step 1: Go to portal.office.com and sign-in with your ILAC credentials
Step 2: Open the Outlook App

Step 3: Open the settings by clicking the gear icon in the top-right corner and click View all Outlook settings on the bottom of the pop-up window.

Step 4: In the Compose and reply settings category you can create or edit your email signature, and choose whether it should appear automatically in your messages. If no checkbox is chosen, you will be able to add the signature manually.


